Getting Started with Compressonator GUI
This guide provides detailed information on the Compressonator application. It lists the requirement needed for running the application and helps in installation, getting started with the tool, using the sample projects and finding specific topics of interest.
Compressonator GUI features
- The GUI interacts with Compressonator SDK for texture compression and bit format conversions; it can compress a wide range of compression formats including ATC, ATInN, BCn, ETCn, DXTn, swizzle DXTn formats.
- Supports conversion of textures with 32 bit fixed and float formats.
- Process multiple compression, decompression and transcode of images with a single processing action.
- Allow multiple processing interactions for a single source image
- Inspect visually and analytically compression results.
- Uses a single image viewer that supports a large number of compressed and uncompressed image formats.
Application Requirements
- Application was tested on Windows 10 platform.
- For best performance, a multi core CPU system with the latest AMD Graphics card are required.
- For ease of use, a wheel based mouse is essential.
- Use of multiple monitors is optional, and can be beneficial when examining multiple image views at the same time. Installation
- To install the application, download the executable file from release page to your system. Then, double click the executable to start the installation process and follow the on-screen instructions.
- Run the application in Administrator mode, recommended that UAC be turned off.
Using Sample Projects
This section shows you how to get started with the application using the sample projects that come with the installation. Note that you can also start by creating a new project and add your image files for compression.
- From the start menu or desktop shortcut run the application
- You will see the following view
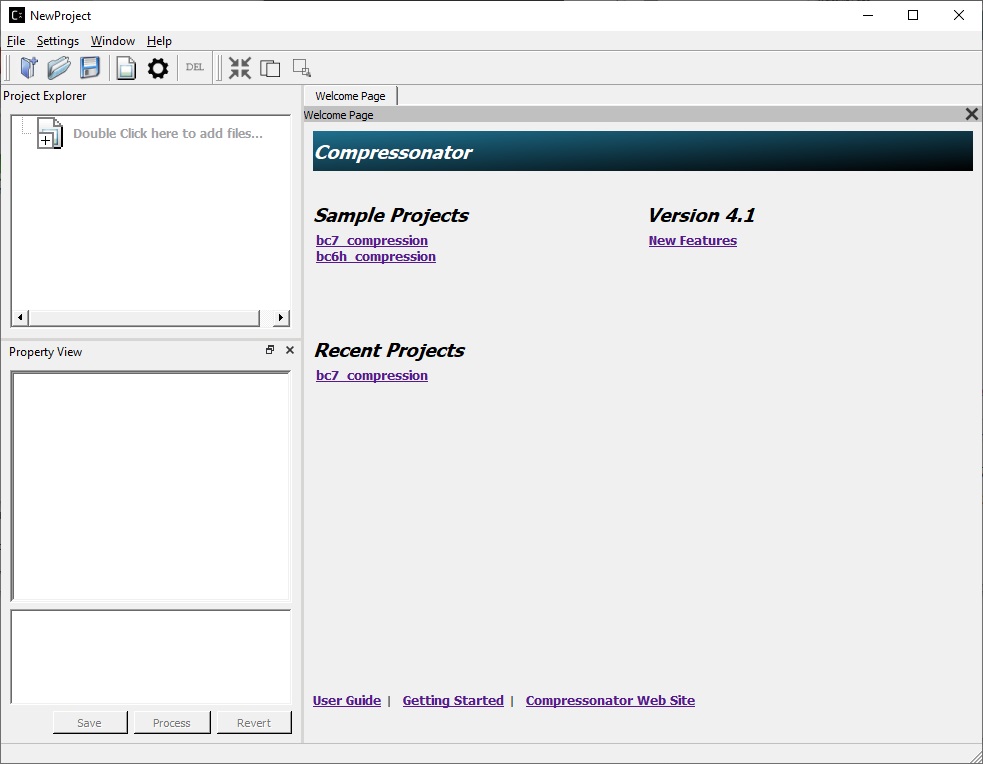
- On the Welcome Page tab Window, click on “BC7_Compression”, the Project Explorer will change and show some sample images and settings
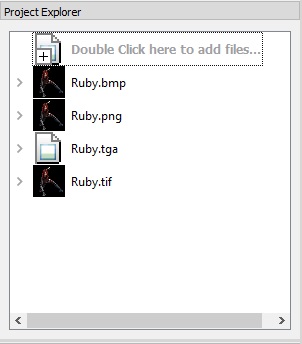
- Click on Ruby.bmp file and you will see an Image View window show up on the right of the Project Explorer, tabbed with the Welcome Page window (as shown below).
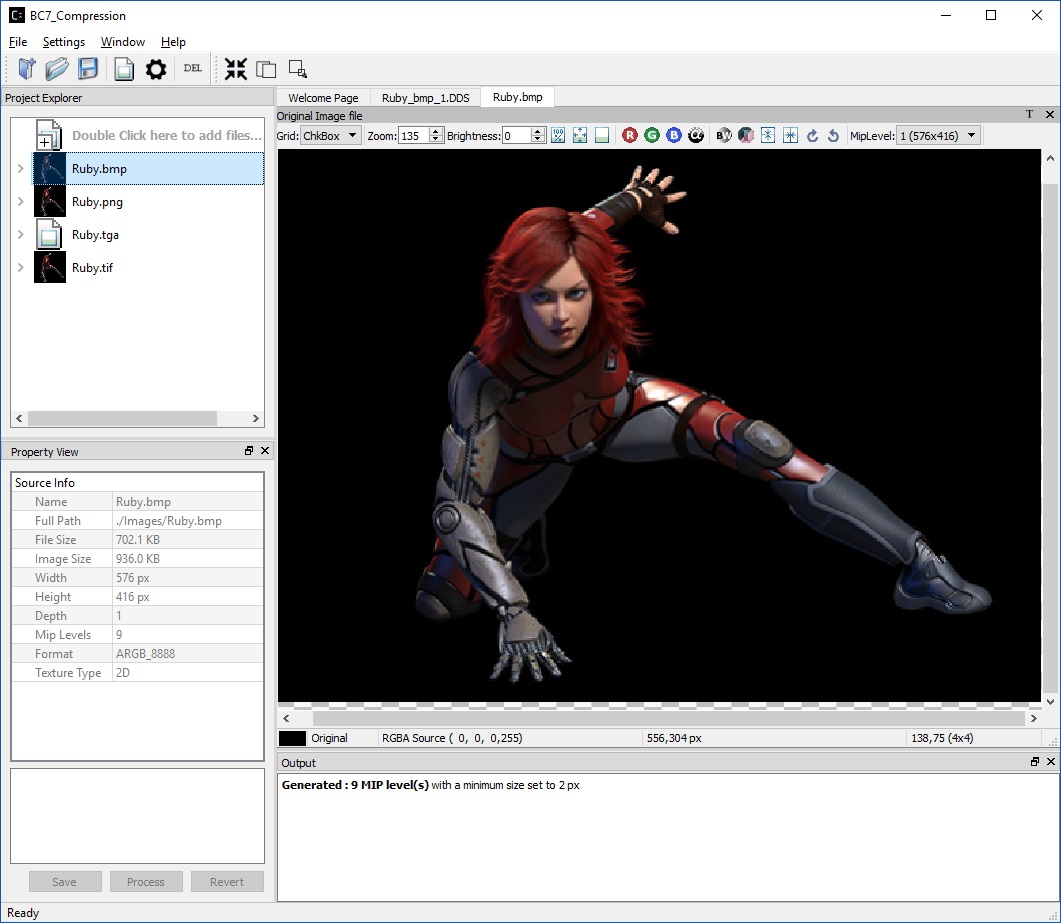
The Properties View will now display information on the selected image’s location, various sizes, dimensions, etc.
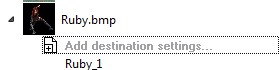
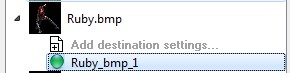
- Now click on the right arrow next to the Ruby.bmp.
This expands the view and you will see a clickable “Add destination settings …” line and a BC7 pre-compressed destination sample Ruby_1
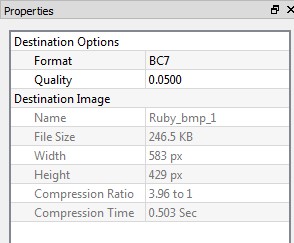
- Click on Ruby_1, and notice that the Properties View changed (as shown below) to indicate what settings has been preset for Ruby_1
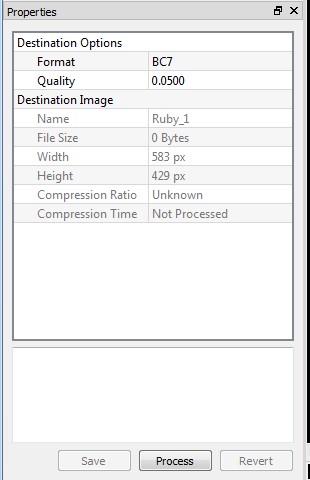
Ruby_1 is set to compress the original Ruby.bmp image using BC7 compression format, the expected quality of the resulting image is shown as default 0.05, this value ranges from 0 to 1. Note that lower quality value will have faster compression process with less amount of precision when compared to the original. On the other hand, higher quality value will slow down the compression process but produce better image quality.
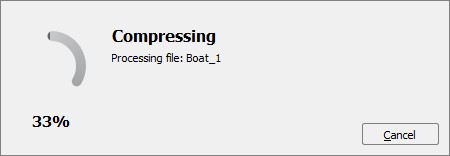
- To start the compression, click on “Process” button, a Progress windows and an Output window appear.
8. When the compression process done, the Project Explorer will change to indicate the status of the resulting compressed Ruby_1 image with a small green (succeeded) or red circle (failed), and the Output window will indicate additional information on the succeeded or failed compression process.
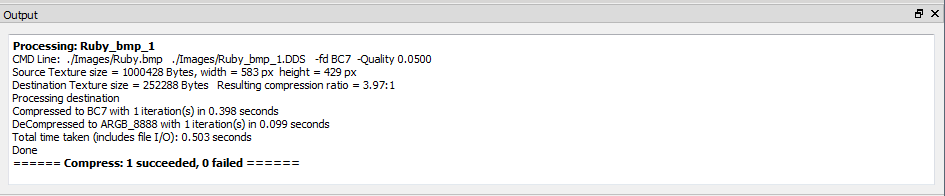
For this sample, we should see a green circle next to Ruby_1 (compression succeeded)
9. Now the Properties View will indicate the time it took to compress the image. To see the Compression Ratio, click on RUby_1 again, this will update the Compression Ratio which indicates how much the image was compressed compared to the original (typically 4x)
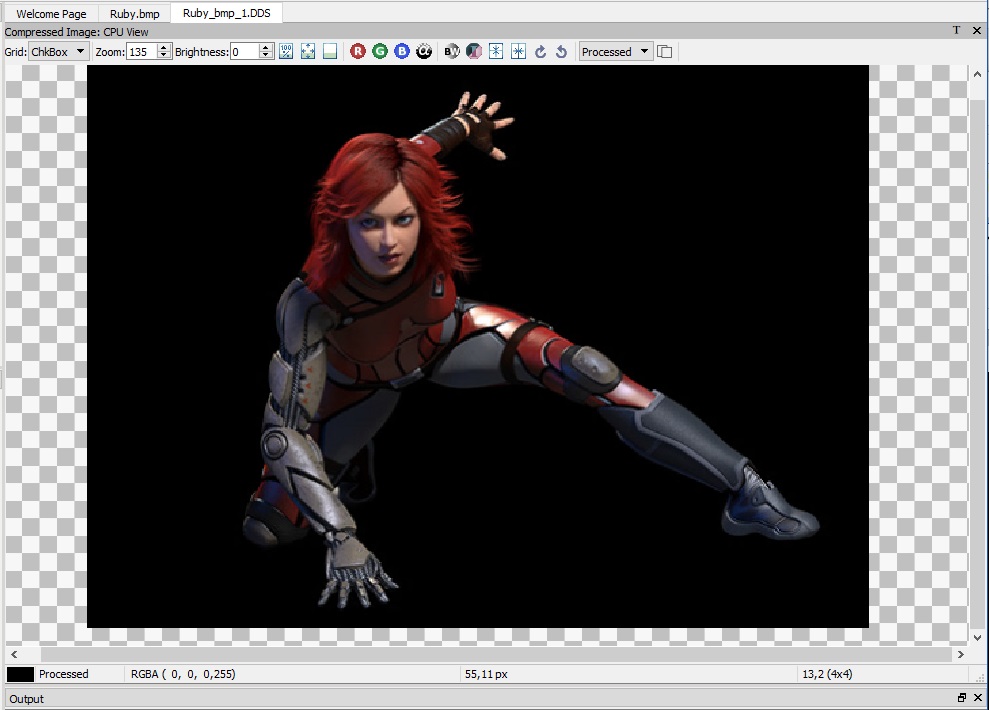
- To see the resulting compressed image, single click on Ruby_1 and you will see the image as shown below.
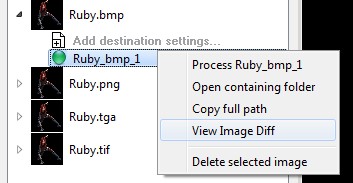
- To view the difference between processed image (Ruby_1) and original image (Ruby.bmp), right click on Ruby_1 and select View Image Diff from the context menu
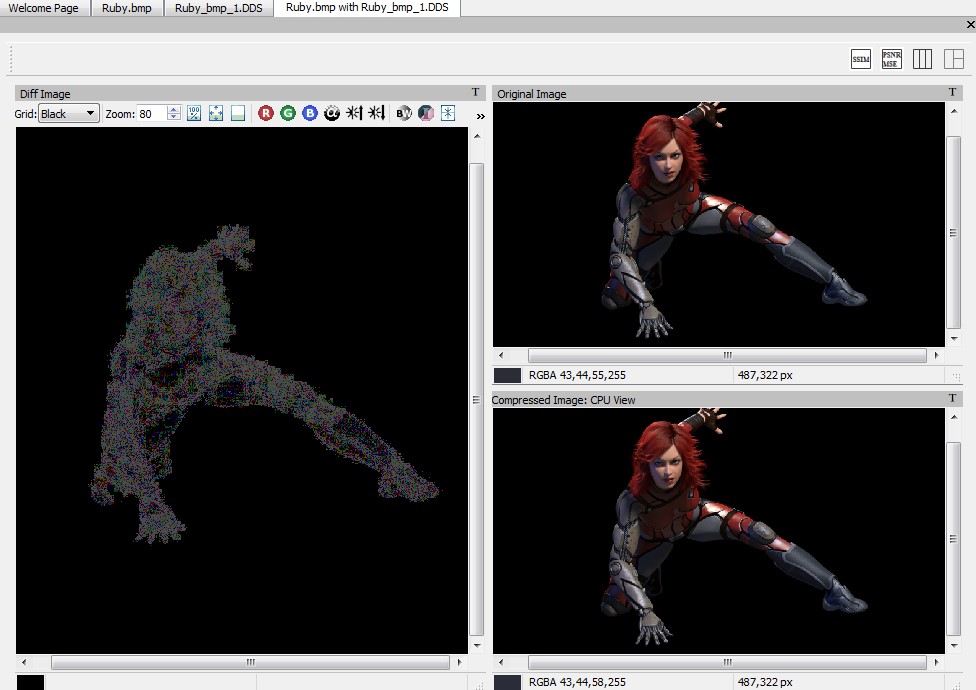
You will now see a comparison of the original image with the compressed image
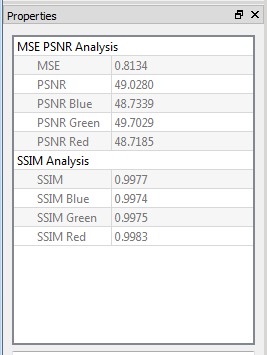
- In addition, you can run analysis on the images that show various statistics such as MSE, PSNR and Similarity Indices (SSIM) by selecting

When analysis process completed, the statistics result will be shown on the Properties View:
Closing views
At any time you can close various views by selecting the close button (on tabs or windows)
Changing views
Click on Image View window tab titles or click on any image on Project Explorer.
Delete or Remove Image(s)
Select the image in Project Explorer and press DEL key. A message window will pop up as shown below.
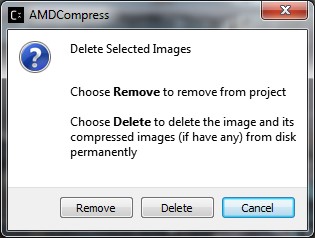
Remove Will remove the selected items from the project explorer view, keeping the files on disk.
Delete Will Remove and delete files on disk.<br> Cancel Will return you back to the application (similar applies when selecting the red close button)
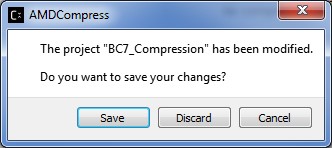
Closing and Saving the Project
Select File menu and then Exit or Click on the close button on the application window Since we have no changes to the settings or added any new images, the application will simply close when exit. If you made any changes to the sample project “BC7_Compression” the application will prompt to save the changes or discard them. When you select save the old settings for “BC7_Compression” will be overwritten.